Sponsored by kaboodle
Flatpack and off the shelf products combined with online planning tools have changed the game when it comes to creating a beautiful DIY kitchen on a budget. But the basics remain when it comes to avoiding costly mistakes. You can never double (and triple!) check your measurements too many times!
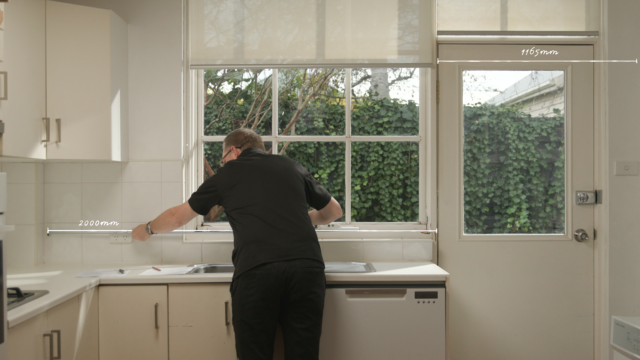
Leading affordable joinery supplier kaboodle, available through Bunnings, have put together some helpful advice for getting those important measurements right. And once you’ve got that covered, putting them into kaboodle’s 3D planner (I used this for my own laundry a few years back) you can easily start designing your dream kitchen from there. No high tech skills required!
Sketch your kitchen
The first step is to sketch your kitchen. A couple of pieces of paper will work, or, if you have access to a printer, you can download and print their planning grid sheet grid that will help you record measurements more accurately. Draw a rough plan of your existing layout – from overhead, marking up any door, window, plumbing and power points.
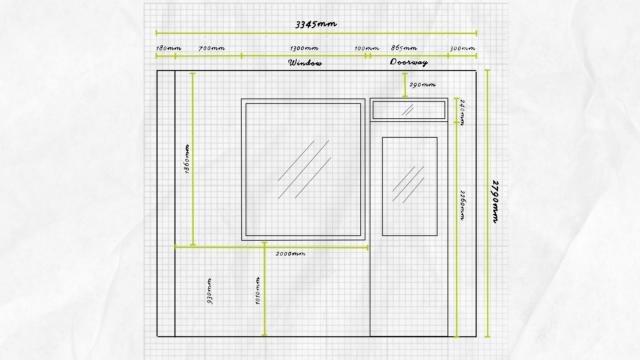

Then, using another planning grid, draw up a front view of each wall. Remember you’re measuring the space, not the existing cabinetry.
Measure horizontal surfaces
Using a tape measure or laser measure, start with the horizontal measurements. Measure the full distance of each wall, even the areas where there isn’t currently any cabinetry.
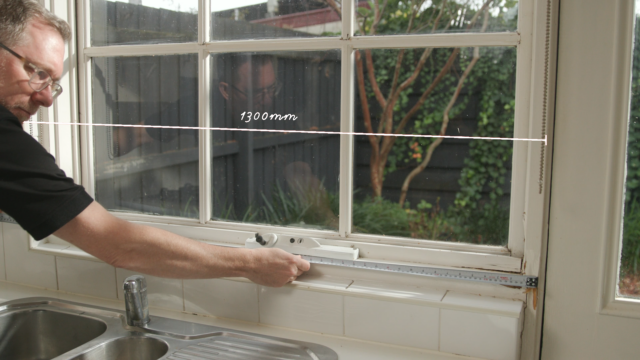

Then measure the walls with windows, including the window length and the space between any windows – from the outside of the window frame, marking all windows with a W. Being conscious to note all wall and window lengths, i.e. wall to wall, wall to window, wall to door.
(Handy tip! Be sure to factor in the thickness of your splashback to your overall horizontal measurement.)
Next, measure the door frames from the outside of the frame, marking all door frames with a ‘D’ or ‘SD’. Check for any other wall obstacles like light switches, PowerPoints, or pillars and posts. Mark all light switches with an ‘LS’ and PowerPoints with ‘PP’.
Measure vertical surfaces
Now measure vertical distances. Record the distance between your floor and ceiling. If there is a bulkhead, measure this separately.
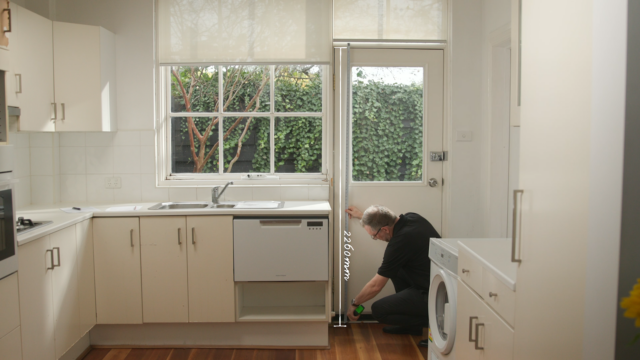

Then measure the height of the floor to the bottom of the window, the height of the window, then the height of the doorways.
Where possible, repeat your horizontal and vertical measurements 600mm in from the wall. This will help identify if there are any uneven walls or floors. If your walls are not square, add wall panels or re-plaster to bring them to square.
Measure and mark service points
Finally, measure and mark all service points such as the rangehood ducting, plumbing and other utilities. Mark down the height of the incoming water source (usually located inside your sink cabinet), as well as the outgoing water waste service points, usually a wall waste pipe (‘WWP’) or a floor waste pipe (FWP).
Mark any gas service points (mark with ‘G’) and electrical for the cooktop and oven, plus any additional power points (‘PP’).
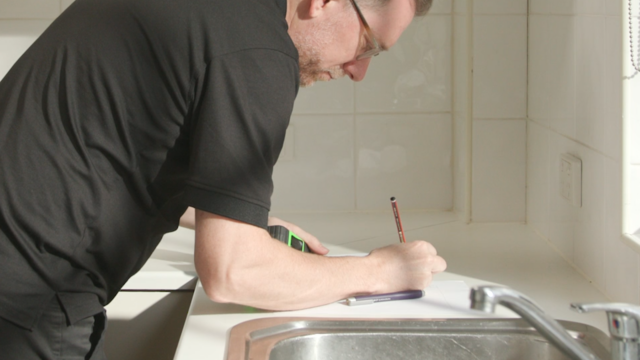

Whether you’re replacing appliances or using existing ones, it’s always good to have the appliance dimensions handy. Don’t forget to write down the height, width and depth. Make sure you always leave enough space for your appliances, you can find all the specifications in the manufacturer’s instructions.
Bring your room to life
Now you’ve got your measurements, bring your room to life in the kaboodle 3D planner, ready for your new kitchen design! Use your sketch to help create your room in 3D and form a floorplan for your new design. If you’d prefer to have someone do it all for you, book an in-home consultation with a Bunnings kitchen consultant.
If you prefer to watch your instructions, the video below is for you!
kaboodle’s Kitchen Renovation Guide is a great free download to get you started!

My new navy and gold laundry revealed: before and after
Our kitchen was the very first room we renovated in this house, almost four years ago. It was a case of “I’m not …

Australian kitchen dimensions: standard sizes for every last detail
When renovating your kitchen, working towards the standard Australian dimensions is a great idea for …

