

By Lisa McQueen
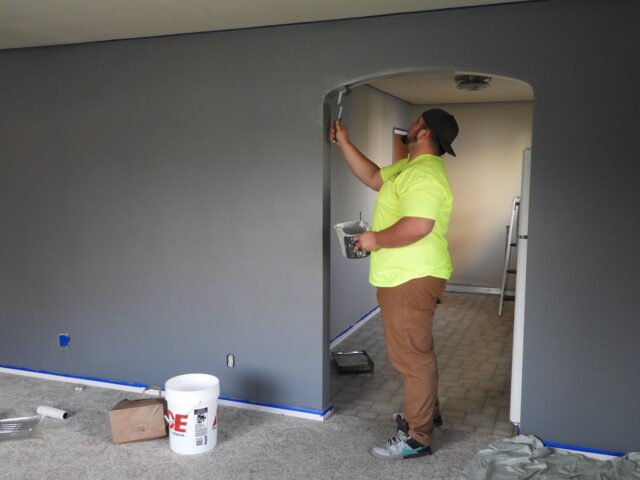
Renovating is exciting – it’s all about transforming spaces and bringing dream designs to life. But once the paint has dried, the dust has settled (literally), and the tools have been packed away, there’s one unavoidable reality: the mess.
Post-renovation clean-up is a crucial step in the process, ensuring your newly designed space shines as it should. If you’re not sure where to start (or just want to make sure you’ve covered all bases) here are 10 expert tips to get your space sparkling and ready to enjoy.
1. Start from the top down
When cleaning post-renovation, gravity is your best guide. Begin with the highest surfaces (ceilings, light fixtures, and walls) before working your way down to furniture, skirting boards, and floors. This approach ensures you’re not undoing your work by letting dust and debris settle on areas you’ve already cleaned.
2. Dust, dust, dust
Renovation dust has an uncanny ability to get everywhere – into vents, corners, and even inside light fittings. Use a microfibre cloth or an electrostatic duster to capture fine dust particles, rather than just spreading them around.
Don’t forget often overlooked areas like the tops of doors, window sills, and inside cupboards.
3. Pay special attention to your floors
Floors bear the brunt of renovation mess. Depending on your flooring type:
- Tiles: Vacuum thoroughly to remove debris before mopping with a pH-neutral cleaner.
- Hardwood: Avoid harsh chemicals; instead, use a damp microfibre mop.
- Carpets: A professional steam clean is often the best way to remove fine dust and dirt that’s been ground into fibres.
4. Tackle windows and glass
Post-reno windows are usually a mix of dust, smudges, and – if you’ve painted – rogue splatters. Start with a glass scraper to gently remove paint drips, then clean with a streak-free window cleaner. Don’t forget to wipe down window tracks and ledges for a polished finish.
5. Deep clean air vents and filters
Renovation dust loves to hide in HVAC systems, which can spread debris throughout your space if left unchecked. Remove vent covers, vacuum inside ducts, and replace air filters to ensure your air quality stays top-notch.
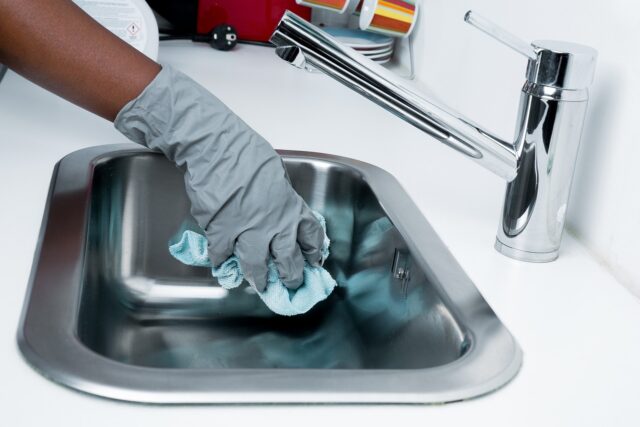
6. Don’t forget fixtures and fittings
Your shiny new fixtures (like taps, handles, and light switches) deserve special attention. Use a damp microfibre cloth to remove dust and polish metal fittings with a suitable cleaner to make them gleam.
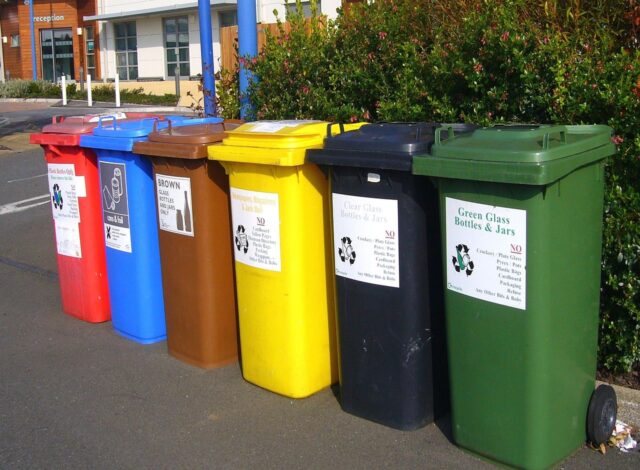
7. Manage waste and leftovers thoughtfully
Renovations often leave behind extra tiles, wood, or paint. Before tossing them out:
- Store leftovers in a cool, dry place – they may come in handy for future repairs.
- Donate usable materials to organisations like Reverse Garbage or The Bower Reuse & Repair Centre in Australia.
- Dispose of debris responsibly – your local council can provide guidelines for waste management.
8. Neutralise the ‘new’ smell
Fresh paint and new materials often bring lingering chemical odours. While these smells typically fade, you can speed up the process:
- Open windows and doors to improve ventilation.
- Place bowls of white vinegar or activated charcoal in the space to absorb odours.
- Use a diffuser with natural essential oils for a pleasant touch.
9. Call in the professionals
Sometimes, the mess is more than a DIY job can handle. Professional cleaners can handle heavy-duty tasks like removing construction debris, steam cleaning carpets and power-washing exterior surfaces. Look for companies experienced in post-renovation cleaning – they’ll have the tools and expertise to tackle the toughest jobs.
10. Protect Your hard work
The best way to keep your freshly renovated space looking fabulous is to implement a cleaning routine right away:
- Use mats or runners in high-traffic areas to reduce wear and tear.
- Establish a regular cleaning schedule to stay on top of dust and debris.
- Invest in professional strata cleaning services if your renovation is part of a shared property – your neighbours will thank you!
Why cleaning is the final (and essential) step
A beautifully renovated space deserves to shine, and thorough cleaning ensures you’re highlighting every detail. Plus, starting fresh in a spotless environment just feels better.
–Lisa Macqueen is the CEO of Cleancorp, a commercial cleaning company with 30 years of experience helping Australians maintain spotless and welcoming spaces. When not supervising post-reno clean-ups, she loves exploring the latest trends in interior design and architecture. You can find Lisa on LinkedIn.
The best ‘cleanstagram’ accounts to follow for home organisation inspo
It’s #NewYearSameMe and a fresh opportunity to get on top of all those life admin tasks you’ve been putting off.…

