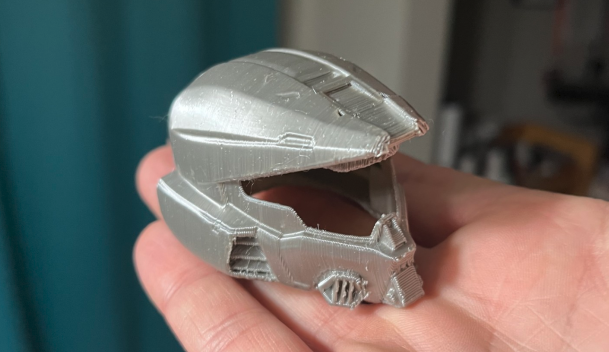
Thought it was time to start sharing and keeping a log of where I’m at in my MKVII build. I’ll be 3D printing the majority of the suit, but want to try my hand at foamsmithing some of the flexible bits. I’m still in the newly started and excited phase, but I’m trying to keep patience in mind and make sure quality and durability are my focus. I’ve never done this before, so I’m learning as much as possible. I’ll also be documenting the [cost: USD] of items as I go, and any extra details (that I would like to track).
I knew that the parts I was printing were going to be larger and take time on my old Ender3V2. So I started by printing out what I call “Practice Pucks”. They are small pieces with ridges, holes, raised parts, curved edges, and slopes. These are meant to be the trial bed for post processing, and serve as a more cost effective place for me to learn some lessons.
Started by using super glue gel [$4] to bind the parts (dried for 1 day). Then some sanding with 100 grit:
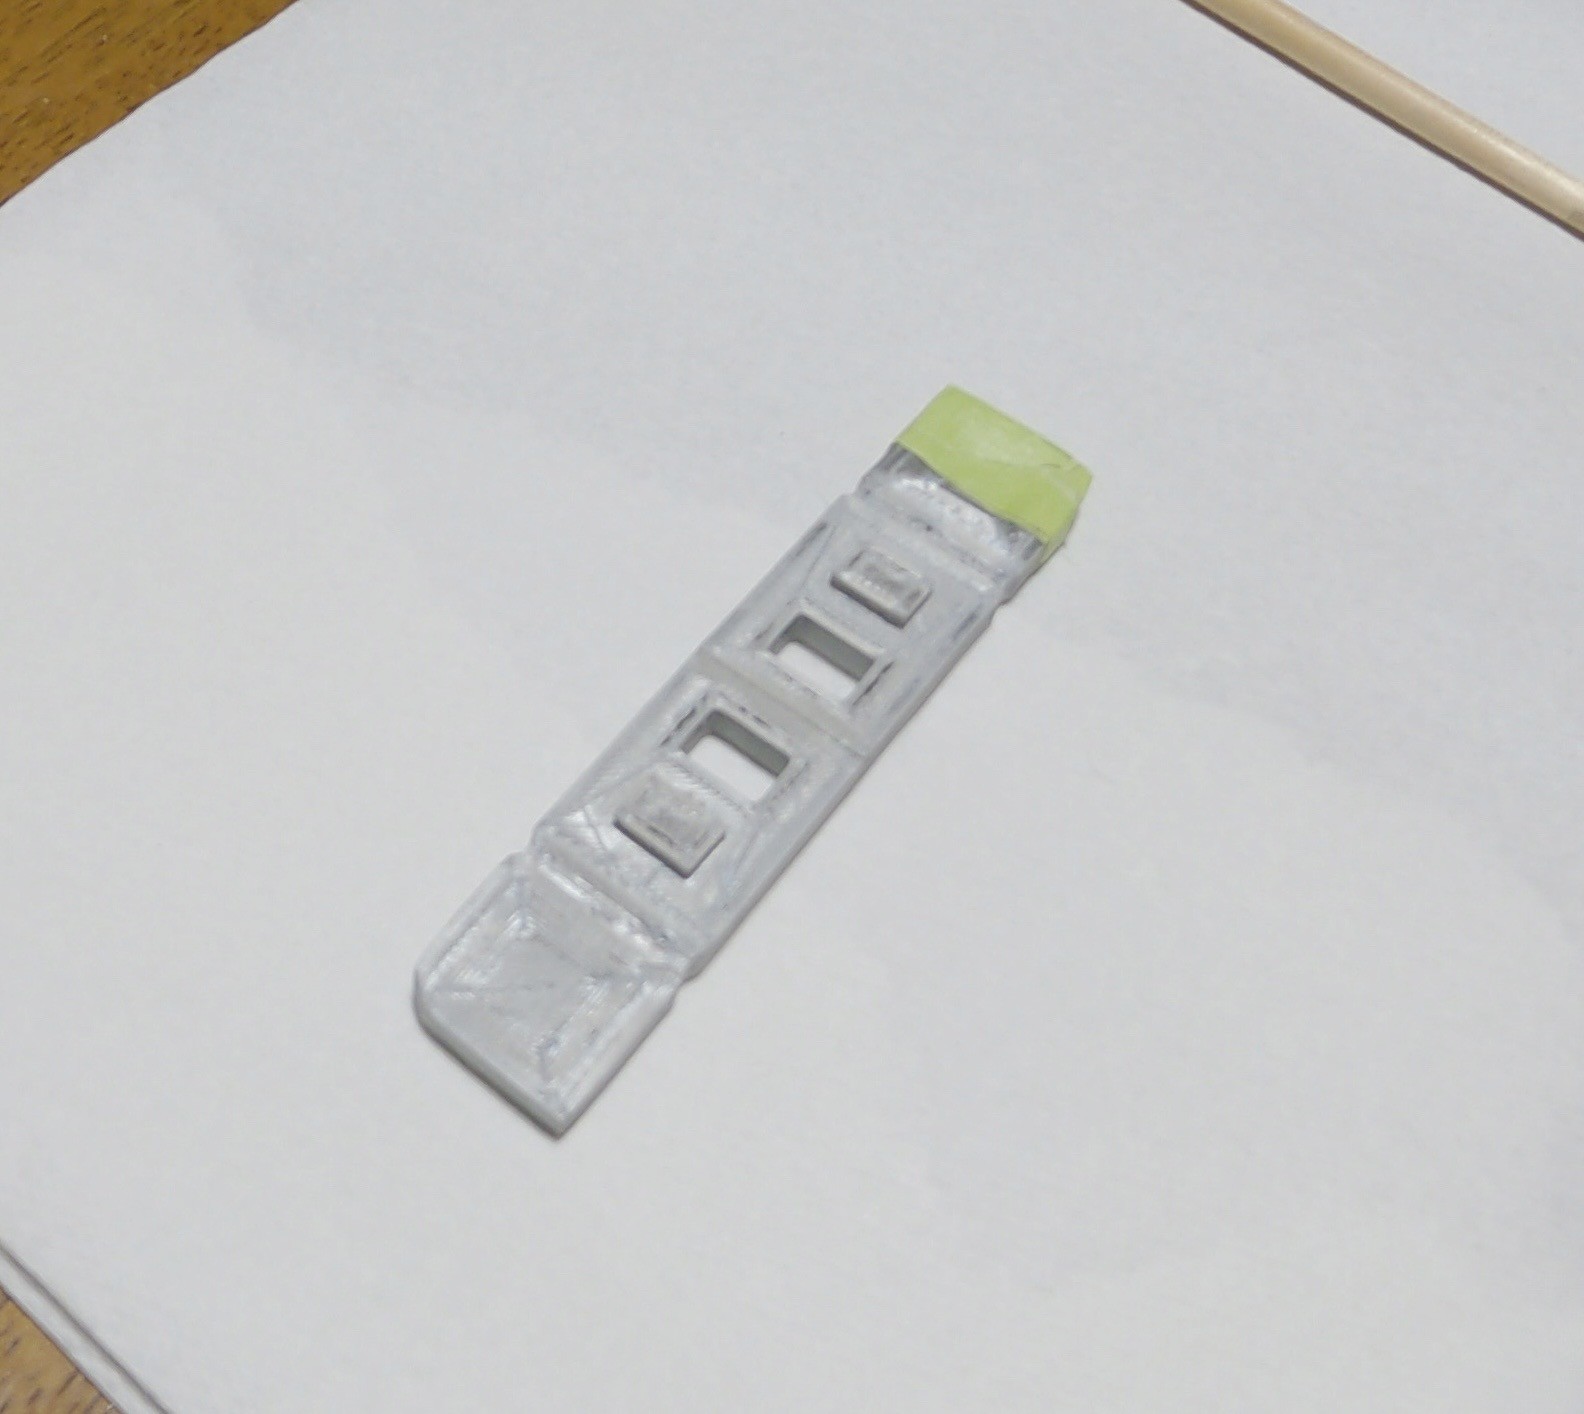
Then a layer of diluted wood filler [$11] (dried 6h), and sanding with 220.
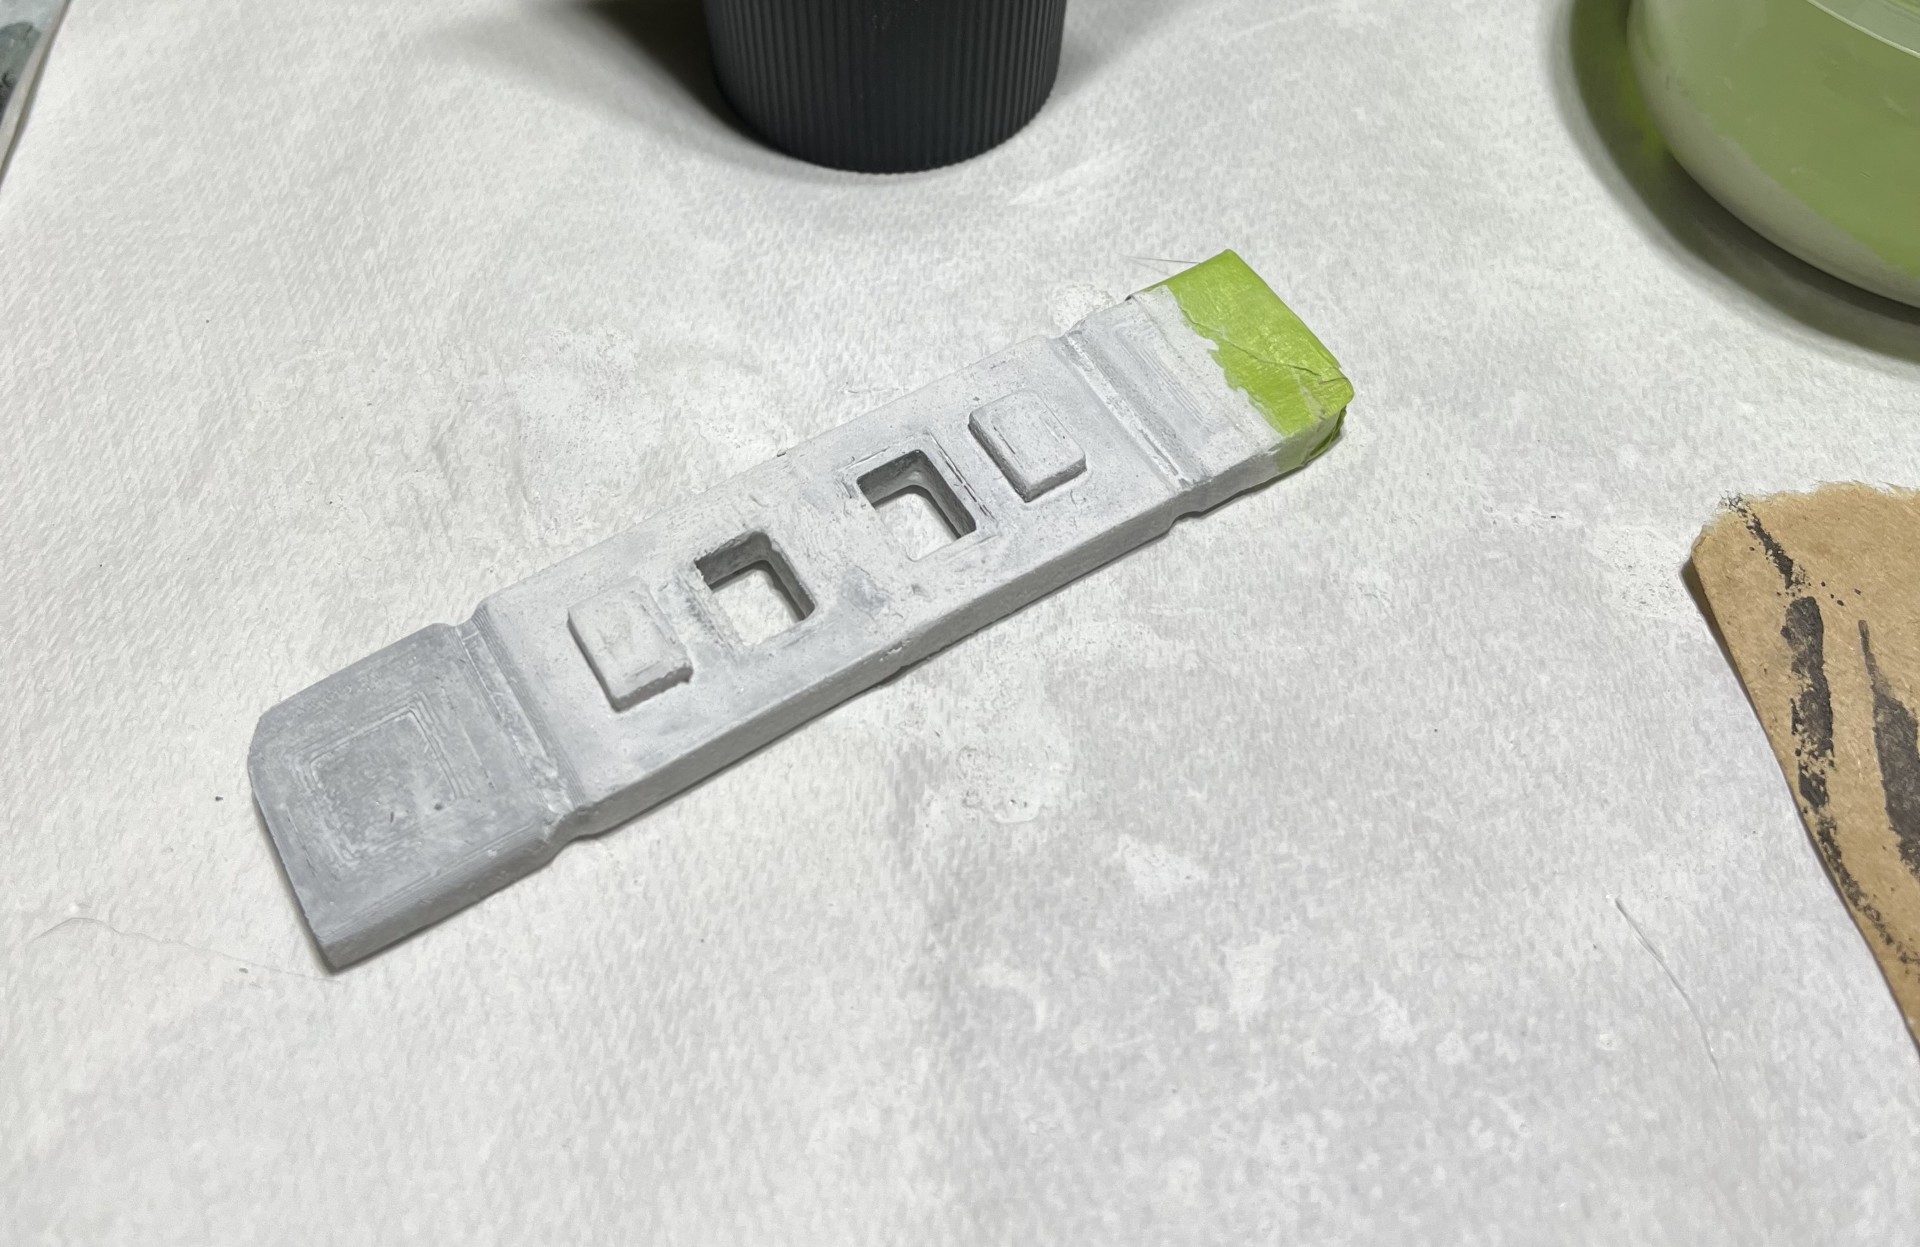
The diluted wood filler didn’t fill the holes real well, so I added a thicker coat (dried 24h)… and more sanding with 220.
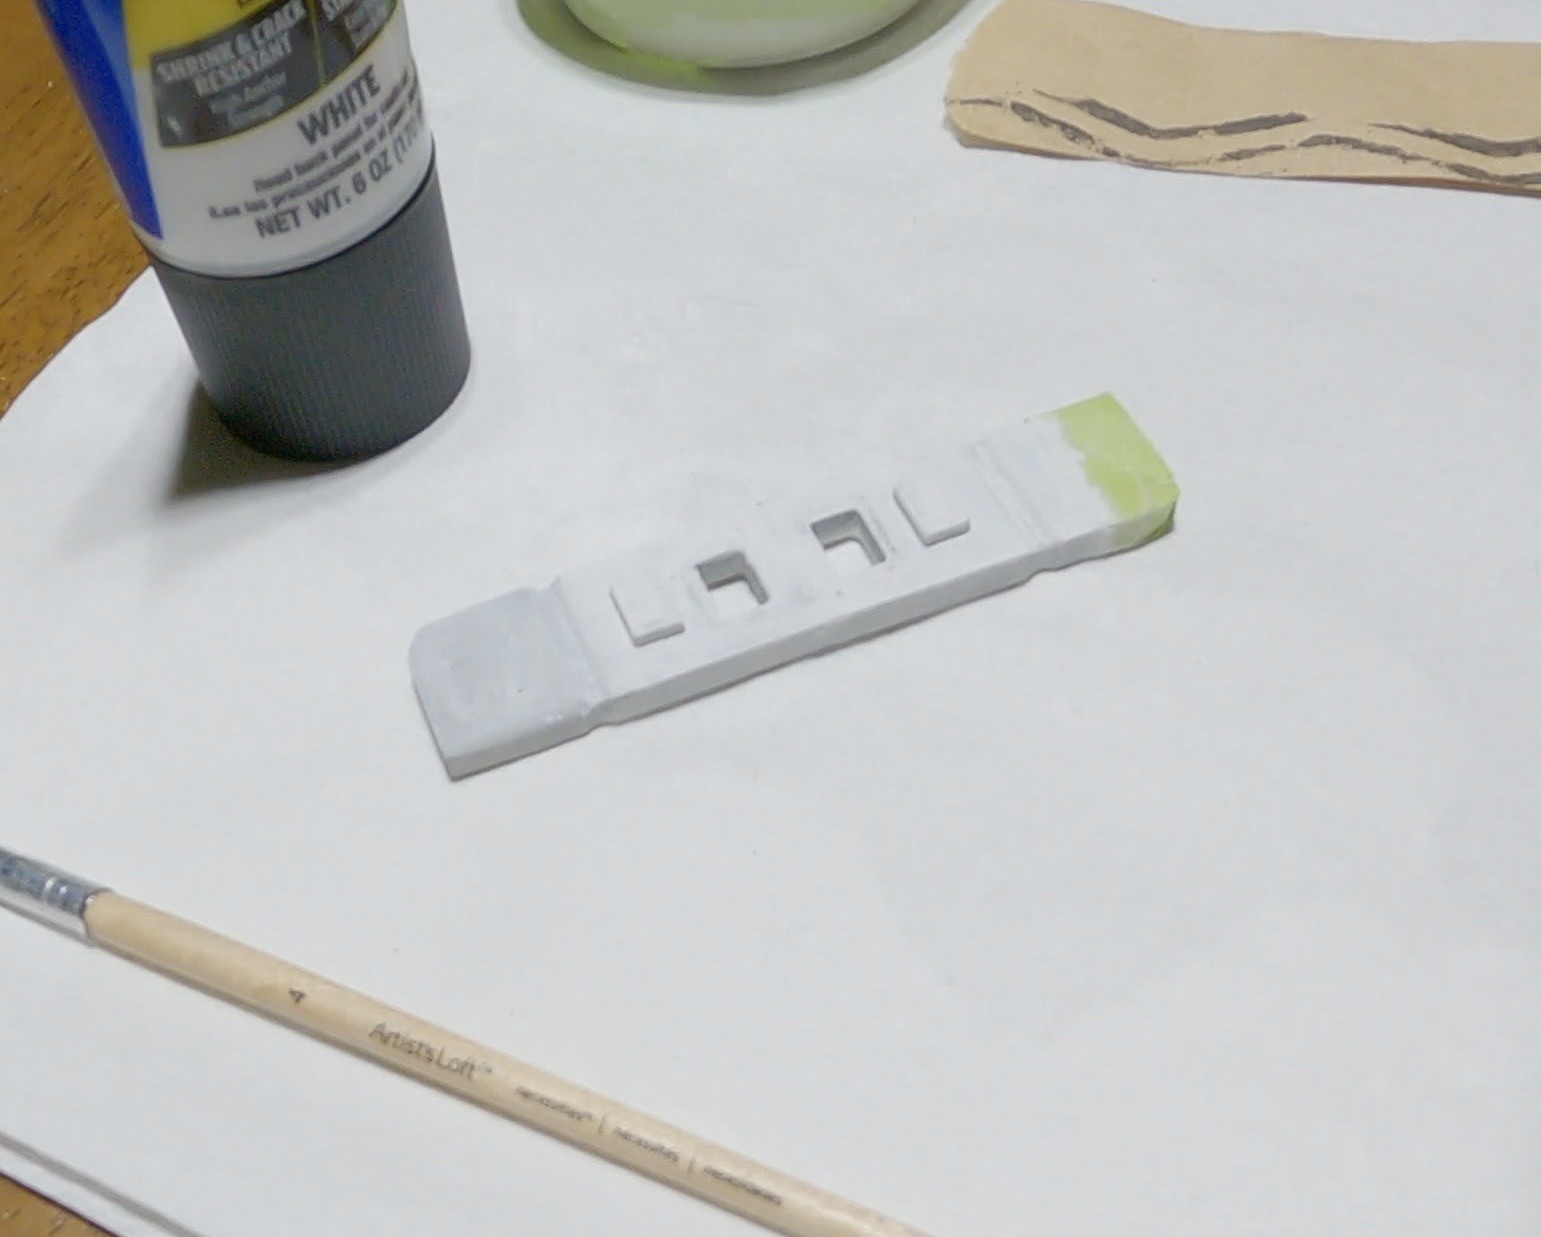
Felt smooth enough (it wasn’t though) so I put on my first layer of primer / filler [$11] (dried 12h).
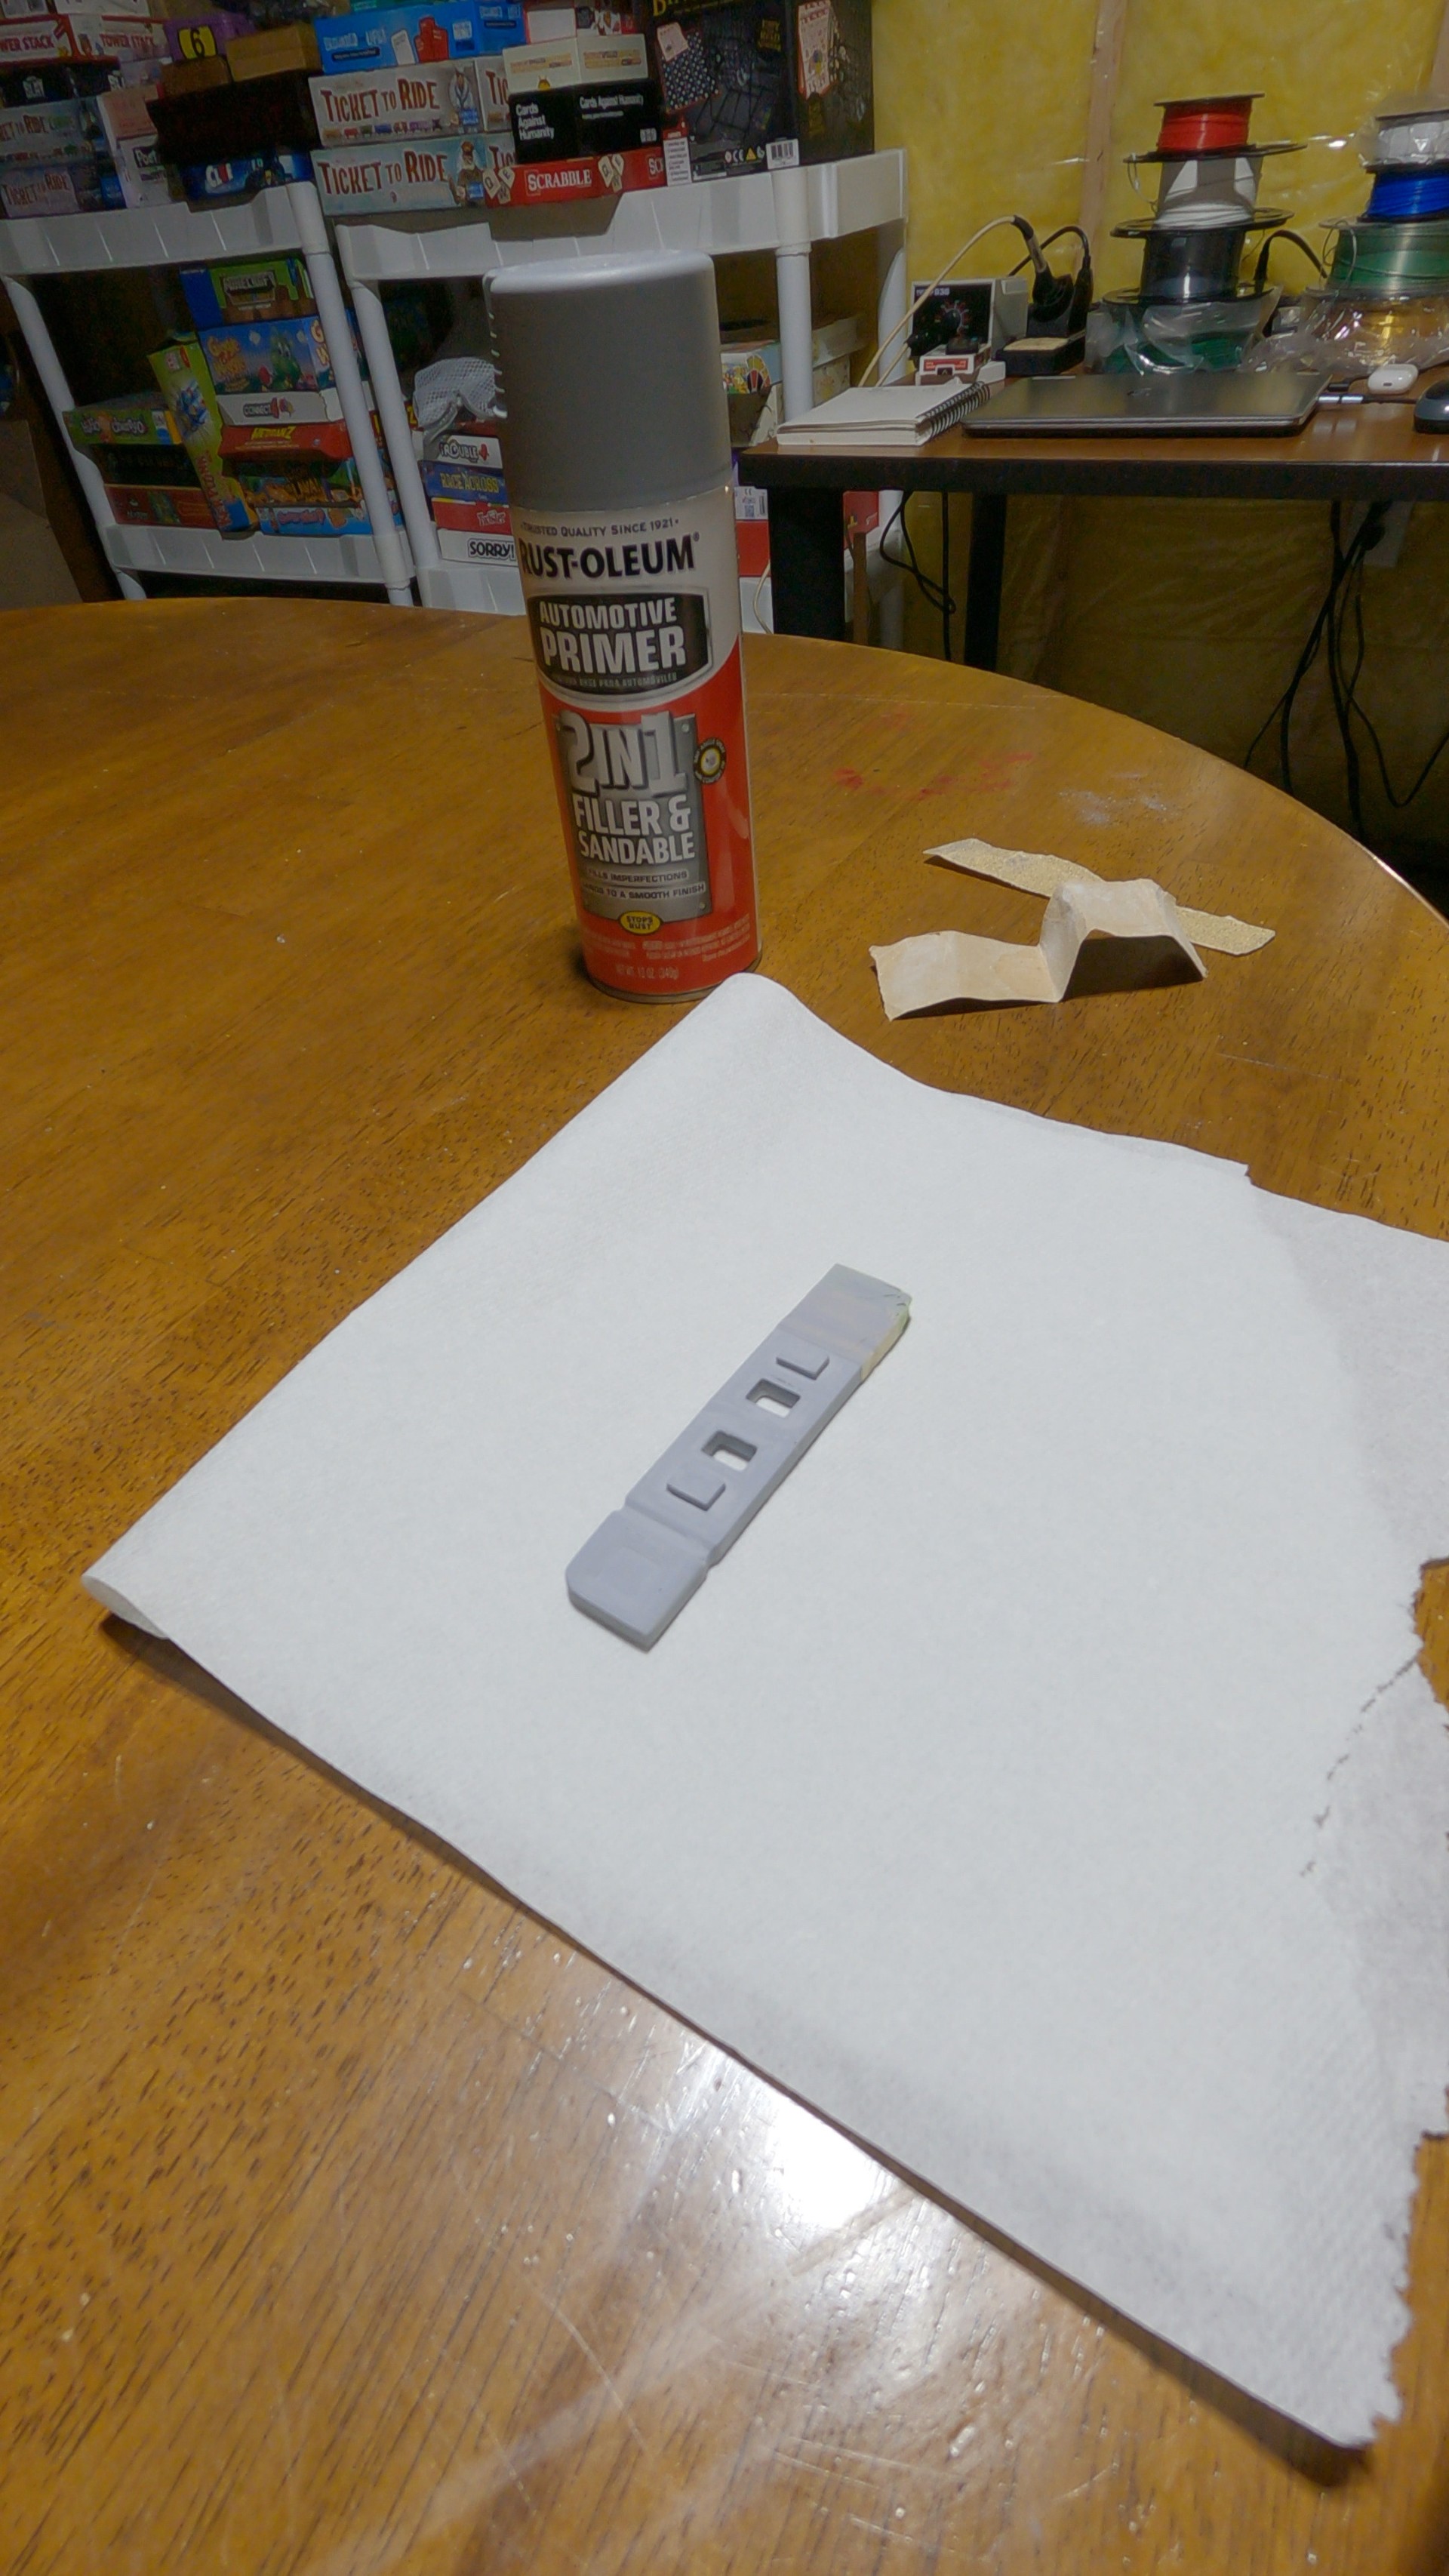
While sanding the primer/filler I put too much pressure on it and the super glue released even though it had been on for 3 days at this point. No worries, that’s why we test these things! This gave me the opportunity to try my hand at PLA welding… I definitely need to practice this before I try it on any larger sized pieces. The pic below is after I sanded it again with 100/220 to take some depth off the weld.
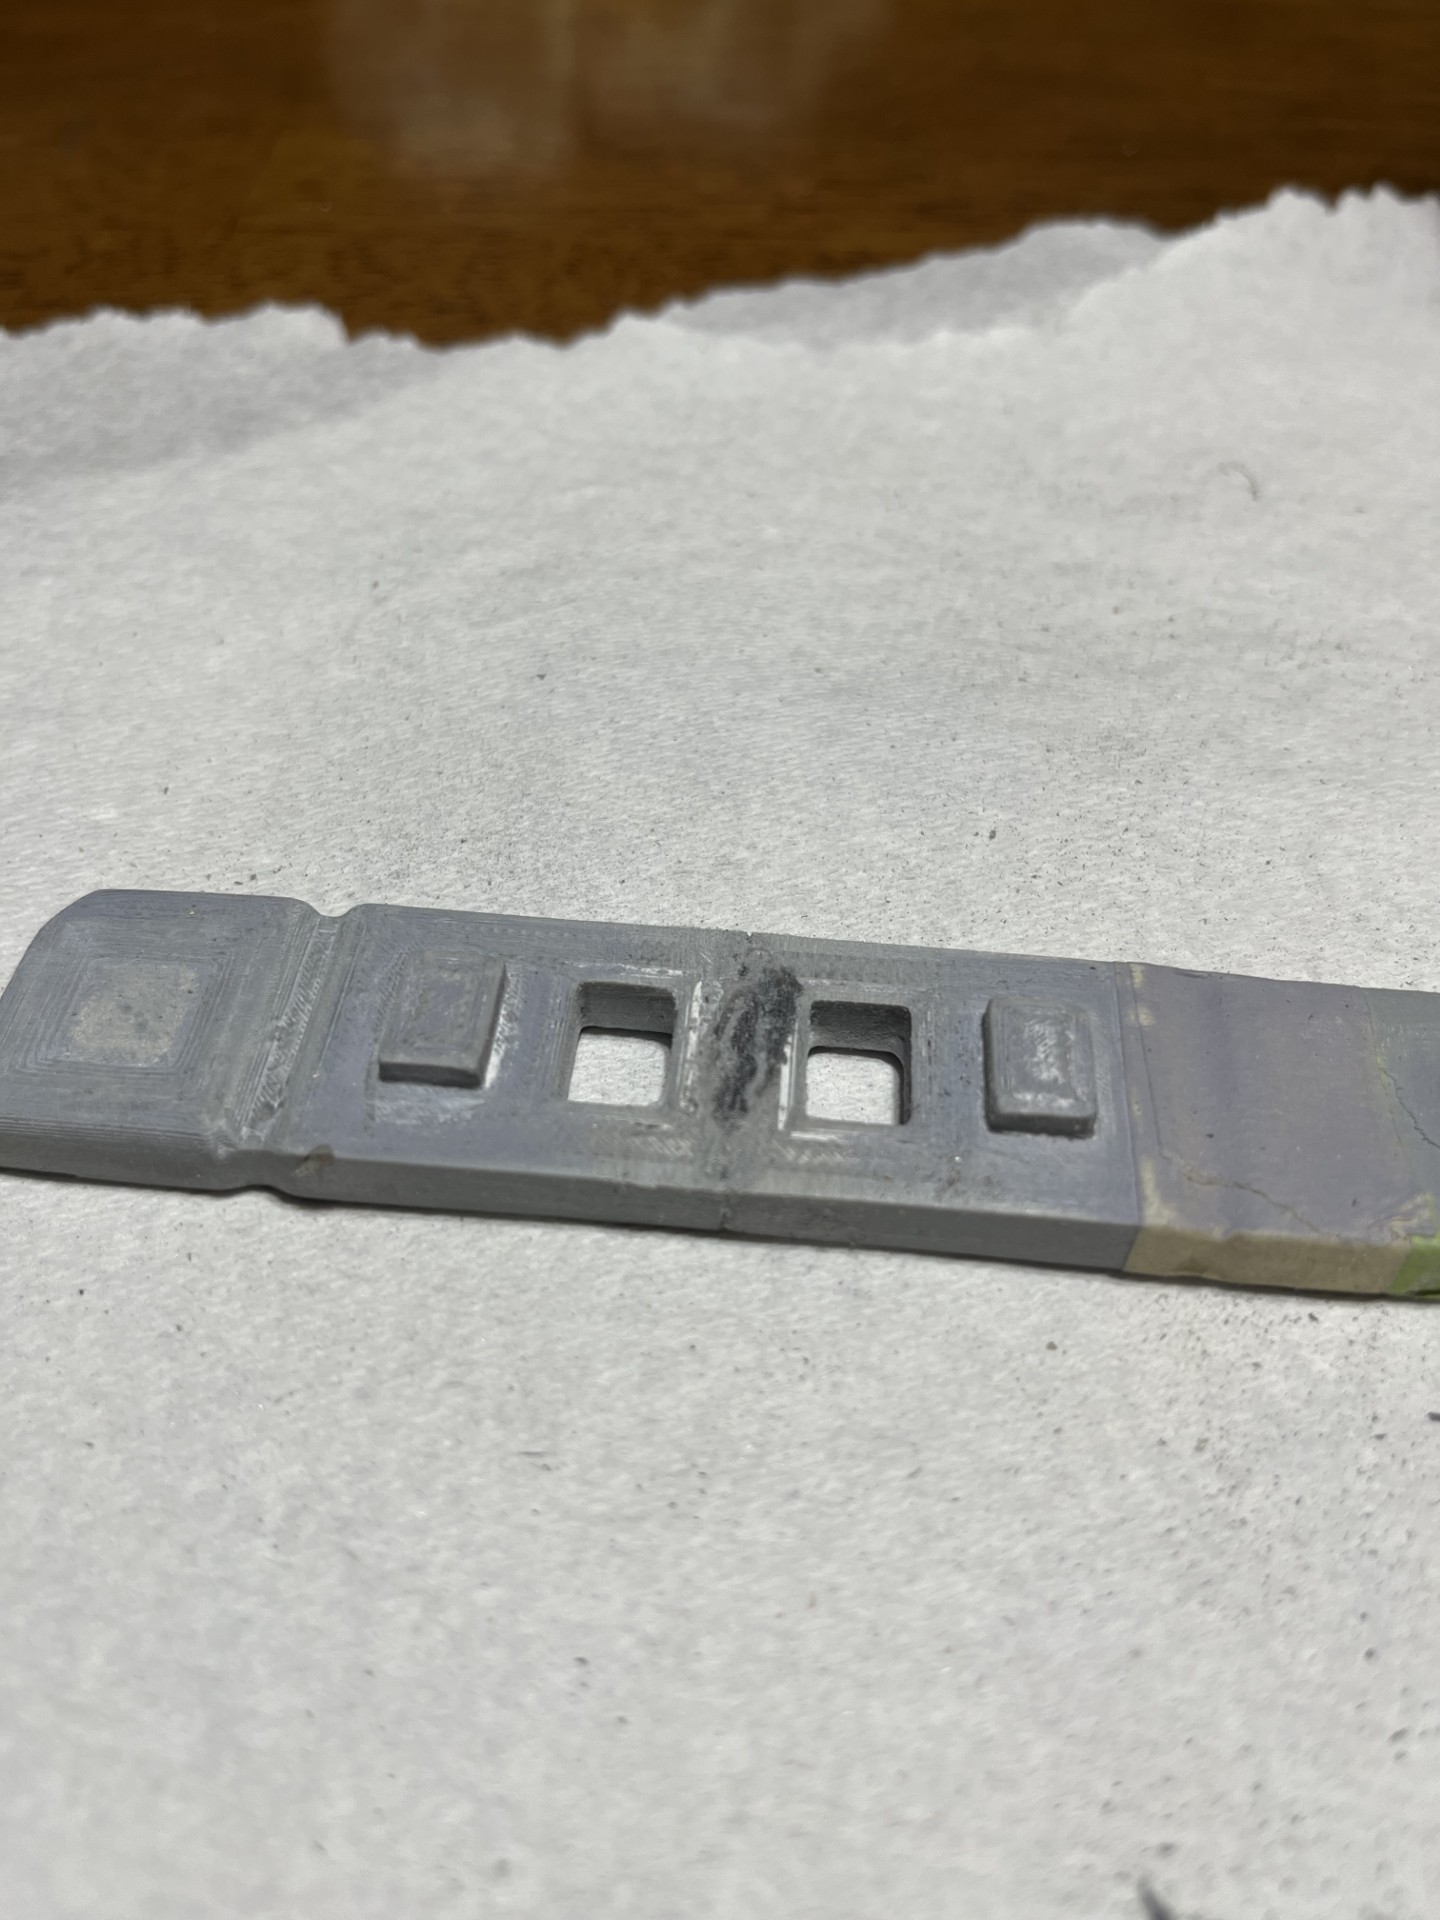
The pucks are currently drying from another coat of primer/filler, while my printer continues to work on the rest of my helmet.
Current helmet status: 50% due to my enormous head and medium sized print bed.
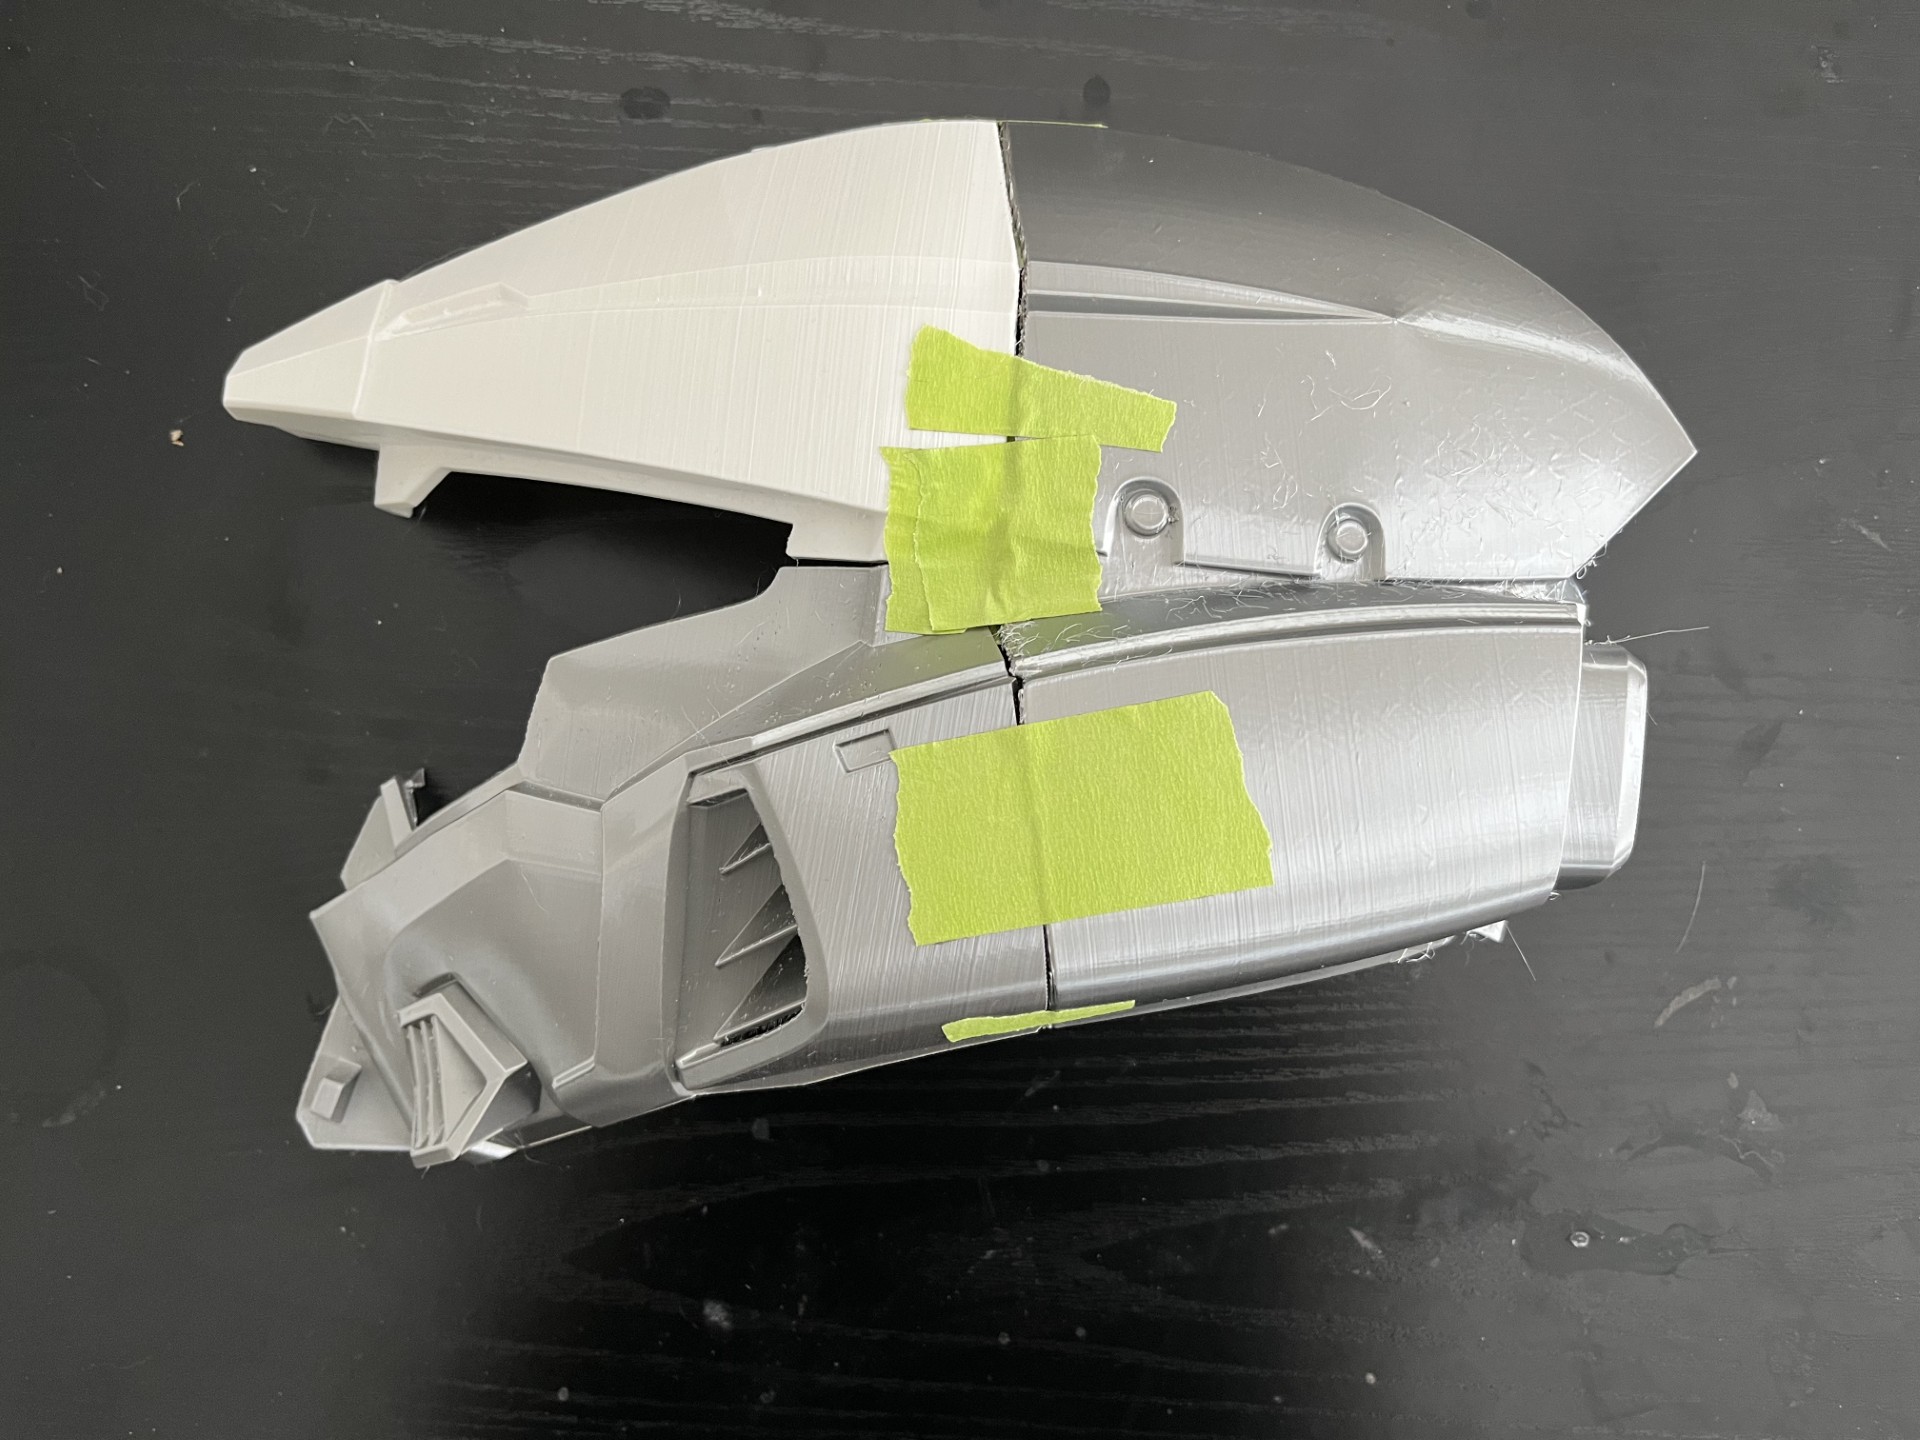
Next steps:
Finish printing helmet pieces, and learn more on my practice pieces.
Bonus:: Micro helmet for motivation
